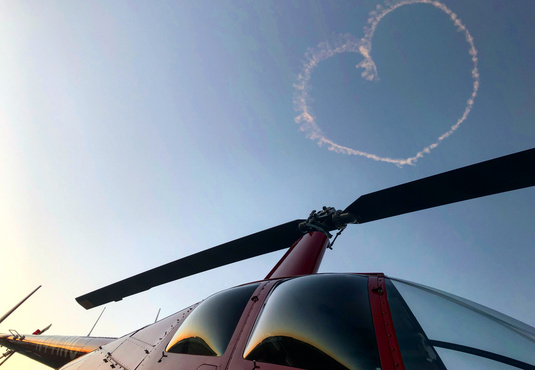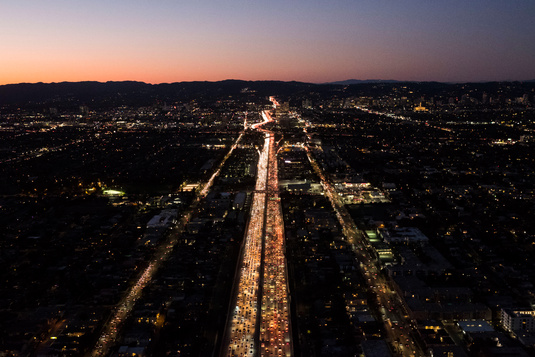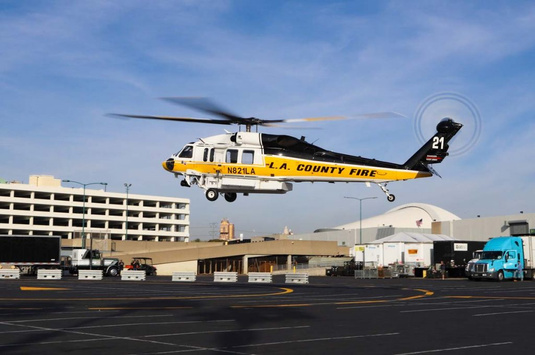
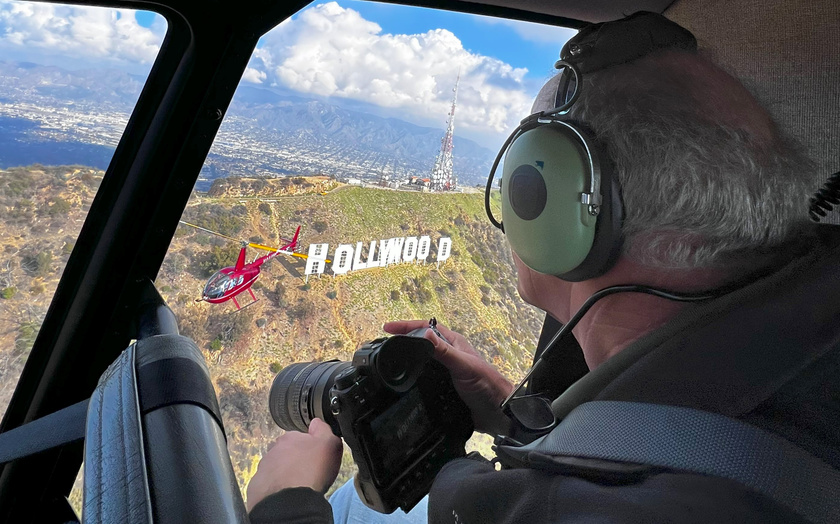
Nothing boosts the appeal of a photo like a change in perspective. Whether you’re a professional photographer, hobbyist, artist or social media maven looking for a way to boost links, shares and following, taking your photos from a whole new perspective is how you differentiate your work from the masses. And what better way to do that than from a helicopter?
Aerial Photography: Helicopter vs Drone
Hiring a helicopter to help you capture those unique shots is easy and affordable, while offering you all the flexibility you need for your project. We can fly doors on or off, allowing you to sit in the front or back, and are legally allowed to operate at a large altitude range. With a helicopter, you can bring a selection of cameras and lenses, allowing you flexibility in how you take your photos, and with the speed of a helicopter, you can shoot several subjects in the same flight, saving your own valuable time.
Drones, while they can be useful for specific needs, drones do have their limitations. Regulations require drone operators to be FAA-licensed pilots, and the drone cannot fly above 400 feet if you’re using your photos for commercial gain. And a blog or website where you make money on ads and by sending followers from your social media is considered commercial gain.
What’s more, most off-the-shelf drones carry wide-angle lens micro cameras like GoPro, limiting your control over the image. Higher-end drones and camera gimbals designed to carry a professional camera sell for tens of thousands of dollars, and you’re still limited by the FAA-imposed 400-foot altitude.
Hiring Group 3 Helicopters for your aerial photography means you can bring all your cameras, pick your altitude, let us know how long you can fly, and leave the rest to us.
Group 3 Aviation’s R44 Helicopter
The R44 is the ideal aerial photography platform for serious photographers. First, it is less expensive than the larger aircraft, allowing you to get the most out of your shooting investment. It’s also small enough to allow you to sit in the back seat and, with both doors off, shoot alternately out each side while still safely strapped into your seat. The front doors can stay on, offering you a wind break when flying between your photo subjects.
What’s more, the helicopter only has two blades, reducing the chances a blade will end up in your photos.
Before every flight, you’ll meet with your pilot to go over what you’d like to capture from the helicopter. Your pilot will do everything allowed by FAA regulations and safety practices to help get your shot. However, the pilot is also responsible for assuring your safety and that of the flight. Any concerns will be shared, and we’ll work with you to mitigate any concerns to help you get your photos safely and within legal requirements.
Tips for Ideal Helicopter Photography
Timing
Consider the orientation of your subject and the time of day. If you’re shooting a mountain range or building facing west, afternoon or even golden hour may be the best time to fly. A fault line may show the best definition from the air mid-day, or if you’re going for dramatic effect, early morning or late evening to accentuate shadows.
Camera settings
Aerial photographers regularly recommend shutter speeds between 1/500 and 1/1000. In calm conditions, 1/500 can be ideal. However, 1/1000 may be the best bet depending on your focal length. Longer focal length = faster shutter speeds. Think about focal length before the flight. A very wide focal length will make it difficult to keep parts of the helicopter, mainly the blades, out of the image. Shooting in burst mode can help increase chances that some shots do not have blades, especially if you’re flying in a two-blade helicopter. In most cases, f/5.6 will work fine, but, depending on focal length, be ready to switch to f/8 or f/11 to attain the brightness you desire. Auto settings sometimes work, but be ready to use manual to increase the chances of capturing the ideal shot.
Doors Off
When the doors are off, it can get windy and even cold. Dress appropriately to stay warm, and tie your hair back if it isn’t too short to blow in your eyes.
Also, when the doors are off, extra items that are not strapped down are often not allowed. Consider having your cameras on straps around your neck, add straps to your sunglasses if you choose to bring them, and don’t bring bags, and plan to have an empty memory card as you’ll not want to see a full one fly from the aircraft when you attempt to change it out mid-flight.
Book Today
We’re here 24/7 to help you book your ideal photo flight. Give us a call today to discuss what you’d like to capture and how we can help you do just that, all within your deadline and budget.
Frequently Asked Questions
1. Why is a helicopter better than a drone for professional aerial photography?
Answer: While drones are useful for small, localized shoots, helicopters offer significantly greater flexibility, legal freedom, and overall efficiency for serious aerial photography.
- No 400-Foot Limit: Under FAA regulations, commercial drone operators are strictly capped at an altitude of 400 feet above ground level. Helicopters can legally operate across a much wider range of altitudes, allowing you to capture high-elevation vistas and grand urban landscapes that drones simply cannot reach.
- Professional Equipment & Multiple Lenses: Commercial-use drones typically rely on small wide-angle fixed lenses (like GoPros) or require investment in expensive custom gimbals running tens of thousands of dollars. In a helicopter, you can bring your full professional DSLR or mirrorless gear setup with multiple prime or zoom lenses.
- Speed and Range: The speed of a helicopter lets you cover multiple distinct locations across Los Angeles or Southern California in a single flight session, saving you valuable time while securing varied angles under identical lighting conditions.
2. Which helicopter model is best for aerial photography in Los Angeles, and why?
Answer: The Robinson R44 is widely considered the ultimate aerial photography platform for serious photographers balancing budget with performance.
- Cost-Effective: It is significantly less expensive to charter than larger turbine aircraft, allowing photographers to maximize their flight time and budget.
- Optimal Seating & Door Configurations: The R44 allows you to shoot with the doors completely removed (“doors-off” mode). Photographers sitting in the back seat can safely switch back and forth to shoot out either side of the aircraft while securely buckled into their harness. The front doors can even remain attached during transit to serve as a windbreak.
- Clear Angles: The R44 features a two-bladed main rotor system, which substantially reduces the probability of a rotor blade accidentally appearing in your frame compared to multi-blade helicopters.
3. What camera settings are recommended for helicopter aerial photography?
Answer: Shooting from a moving, vibrating aircraft requires sharp technical control to prevent motion blur and achieve crisp image quality. Key camera recommendations include:
- Shutter Speed: Keep your shutter speed high—typically between 1/500s and 1/1000s. In calm weather or when shooting wide, 1/500s works well, but longer telephoto focal lengths demand 1/1000s or faster to compensate for aircraft vibration and relative motion.
- Aperture: Start around f/5.6 for adequate light gathering, but be prepared to stop down to f/8 or f/11 depending on your target depth of field and ambient brightness.
- Shooting Mode & Techniques: Switch away from full auto and rely on manual settings or shutter-priority mode. Shoot in high-speed burst mode (continuous shooting)—this drastically increases your odds of getting pin-sharp frames that are free of glare or stray rotor blades.
4. How should I prepare for a doors-off helicopter photography flight?
Answer: Flying doors-off requires strict safety compliance and personal preparation due to heavy wind turbulence and lower ambient temperatures at higher altitudes:
- Clothing & Grooming: Wear warm, fitted layers, as temperatures drop and wind speeds increase significantly inside an open cabin. Securely tie back long hair so it does not block your line of sight or viewfinder.
- Gear Security: Loose objects are strictly forbidden inside open cabins due to the risk of falling objects (FOD). Cameras must be secured to your body with sturdy neck or shoulder straps, and sunglasses should have tight security bands.
- No In-Flight Lens or Memory Card Changes: Do not bring loose gear bags, loose lens caps, or spare memory cards on board. Inserting an empty, high-capacity memory card before takeoff prevents you from attempting dangerous mid-air card swaps where an item could be swept out by the wind.
5. What factors should I consider when scheduling the timing for an aerial photo flight?
Answer: Timing your flight around lighting and subject orientation is essential for capturing professional-grade depth and contrast:
- Subject Orientation & Sun Angle: If your target (such as a coastal cliff face, skyscraper, or mountain range) faces west, scheduling your flight during the late afternoon or “golden hour” ensures direct, warm illumination rather than harsh backlighting.
- Shadow Management & Topography: Topographical features like fault lines, canyons, or architectural complexes often look best either at midday (when top-down sunlight reaches deep shadows) or in the early morning/late afternoon when low sun angles cast dramatic long shadows to emphasize texture and scale.
- Pre-Flight Planning: Always schedule a briefing with your flight crew before takeoff. Communicating your intended angles and shot list allows the pilot to position the aircraft safely within FAA regulations while aligning with the best available light.